If you know my family, you know we are avid canners and preservers. With that comes a love of using mason jars for various things, including storing fresh fruit in mason jars in the fridge in order to prolong freshness and using the small 125ml jars to portion out my homemade yogurt for the family. So it only seems natural that making cheesecake in mini mason jars would be a good idea. It allows you to control your portions and pull out individual portions when you’re ready to indulge or serve to family and friends. This recipe is also great because you prepare, cook and store the cheesecake in the same jar! It’s really a win-win!
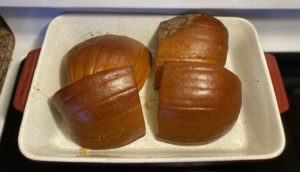
Another thing to note, is around the holidays and with the uncertainty of certain products on the shelf these days, that using your own freshly cooked pumpkin puree is not only extremely easy but a real money saver. Right around Halloween, I picked up a pie pumpkin from a local farm for $1.25. I sliced my pumpkin and took out the seeds and pulp and then put it face-down in a roasting pan for just over an hour at 375 degrees.
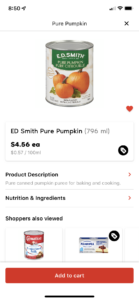
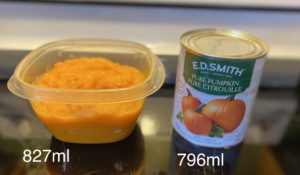
In the end, my $1.25 pie pumpkin generated more pumpkin puree than the leading store-bought brand and for just a fraction of the cost! Which means I’m saving $3.31 by roasting and processing my own puree at home.
It just goes to show with a little effort and planning, you can save yourself some hard earned dollars and know exactly what you’re eating buy processing your own pumpkin puree at home. And I’m also going to go out on a limb here and also say, I think it tastes better too!
Once I pureed my own pumpkin, I let it cool completely and usually put it in the fridge to use the next day. This way I can take out the cream cheese and allow it to come up to room temperature in the morning.
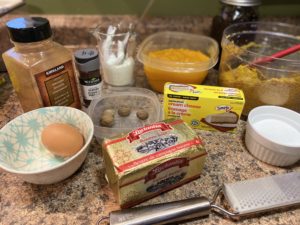
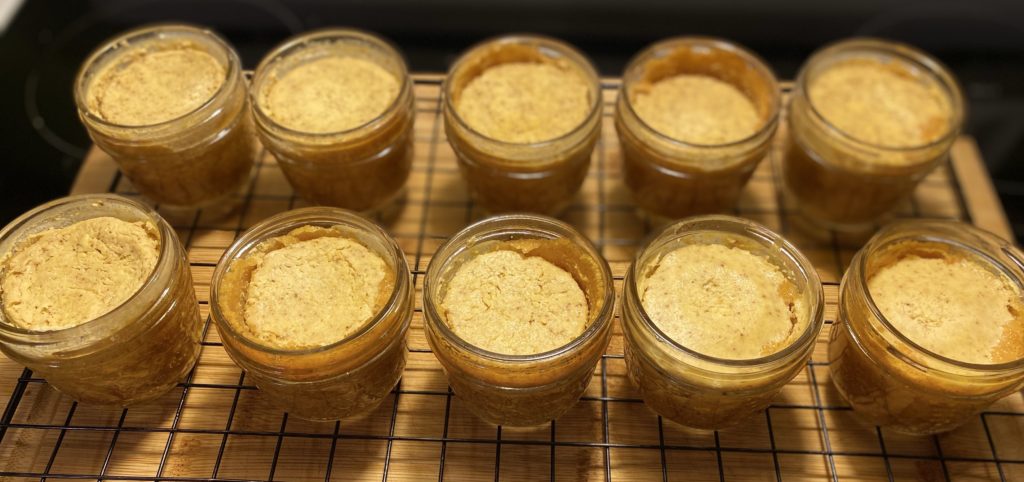
First, you mix your graham cracker crust and put it into your jars. In order to pack the crust down and also have it come up a bit on the sides, I like to use a shot glass to push the crumble down. Then, I simply mix my batter ingredients and use a medium cookie scoop to fill the jars almost to the brim.

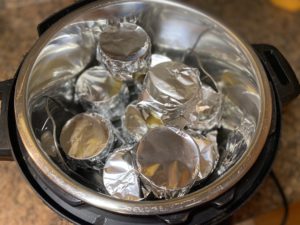
Next, place your trivet in your instant pot and fill the bottom of the instant pot with on cup of water. From there, use aluminum foil to cover each jar and carefully place them in the instant pot. It is okay if you have to stack a couple, just make sure they are steady in the pot and won’t tip over. Once you place your sealing ring in, seal your pot and cook on high pressure for 6 minutes and then let the pressure release naturally.
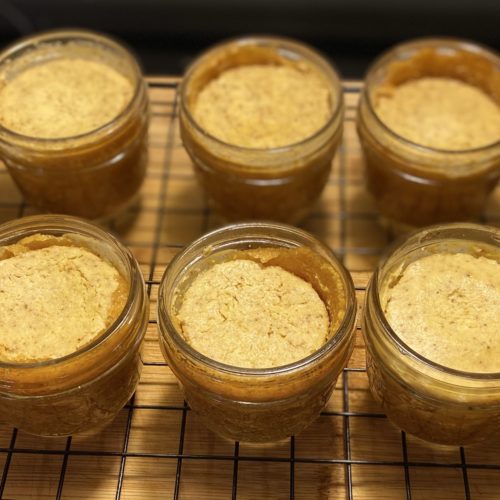
When the pressure is completely released, pop them in the fridge to chill and enjoy later or put them in the freezer for up to 3 months. They taste great as-is or try adding a little homemade jam or raspberry sauce on top for an extra treat.
Mini Instant Pot Pumpkin Cheesecakes
Equipment
- 1 Instant pot 6 or 8 quart
- 1 Instant Pot trivet
- 1 Hand or stand mixer
- 10 125ml mason jars must be canning/preserving quality
- 1 shot glass
Ingredients
- 1 250g Cream Cheese package room temperature
- 1/3 Cup White Sugar
- 1/4 Cup Sour Cream room temperature
- 2/3 Cup Pure pumpkin puree
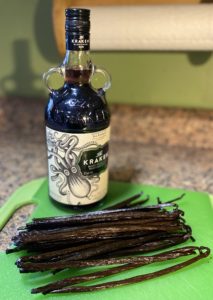
- 1/2 Tbsp Vanilla Extract
- 1 Tsp Ground Cinnamon
- 1 Tsp Ground Nutmeg
- 1/2 Tsp Ground Cloves
Crust Ingredients
- 1.5 Cups Graham Cracker Crumbs
- 2 Tbsp White Sugar
- 6 Tbsp Butter Melted
Instructions
- Prep the crust by adding graham cracker crumbs, butter and 2 tablespoons sugar to a food processor. Pulse ingredients until just combined.
- Scoop approximately 2 tablespoons of crust mixture into 125ml mason jars. Once the crust mixture is in the jar, use a shot glass to gently pack the crust down and swirl mason jar around gently, so that the crust also comes up the sides of the jar slightly. Repeat this step for all 10 mason jars. Put jars aside.
- In a separate bowl, combine all other ingredients to make the cheesecake filling, making sure to add the egg last. Ensure ingredients are all room temperature before beginning. Blend the ingredients together using a hand or stand mixer. Add the egg last and mix just to combine but do not over mix.
- Add your cheesecake filling to each of your mason jars. Fill each jar with approximately 2 medium cookie scoops or 1/4 cup worth of cheesecake filling per jar.
- Cover all jars with a piece of aluminum foil.
- Add trivet to your instant pot and fill instant pot with 1.5 cups of water.
- Gently add all of your cheesecake jars to the trivet, stacking if needed. Just be sure each jar is steady and won't tip over.
- Place your sealing ring in your lid and place the lid on your instant pot. Set the timer for 6 minutes, manual high pressure.
- Once the timer goes off, allow your instant pot to do a natural pressure release.
- Gently remove the jars and allow them to come up to room temperature.
- Place mason jar lids on the jars and put in the refrigerator to chill. Or freeze for up to 3 months.
- When ready to serve, top with some homemade jam, raspberry or caramel sauce. The toppings are optional and endless based on personal preference. Or simply eat as-is without toppings!